[ITS] How to Install Chrome OS Flex on BenQ OPS Computers
10 steps to install Chrome OS Flex on BenQ OPS computers
If you are an organization leveraging Google and are looking for a way to run Chrome OS directly on your BenQ board or OPS platform, this is a great solution.
Follow the instructions to create a Chrome OS Flex installer.
Equipment required:
- BenQ touch or non-touch display equipped with an OPS computer slot.
- BenQ IE1002 OPS computer.
- USB 3.0 drive with at least 8GB available
- Keyboard and mouse
Step-by-step
- Go to the ChromeOS Flex Installation Guide to create a Chrome OS Installer
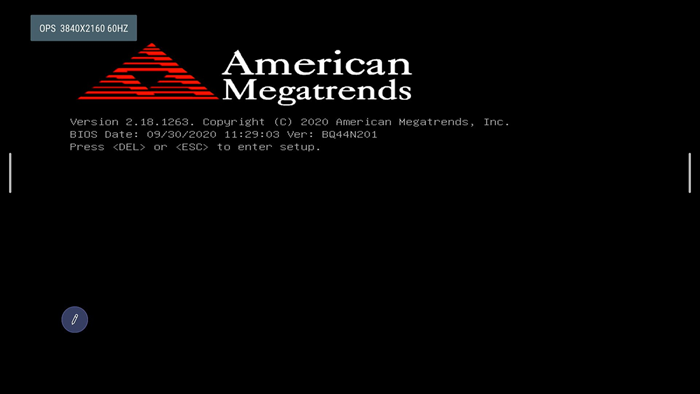
- You can now insert the USB drive directly into the OPS Computer. You can also connect the keyboard and mouse to your display either through the OPS or through the screen’s native ports > Select settings and Connection to select the OPS as your input source. As the OPS is booting, hit the escape key to enter the BIOS.

- Once in the BIOS, scroll over to the boot tab. Select your Chrome OS boot drive as Boot Option #1 and disable the two other boot options.
-
Save your changes by going to the Save and Exit Tab > select Save changes and Reset > choose yes.

- Your OPS computer will now reboot and prompt you to start the installation process for Chrome OS. Follow the on screen instructions to complete the installation process.
-
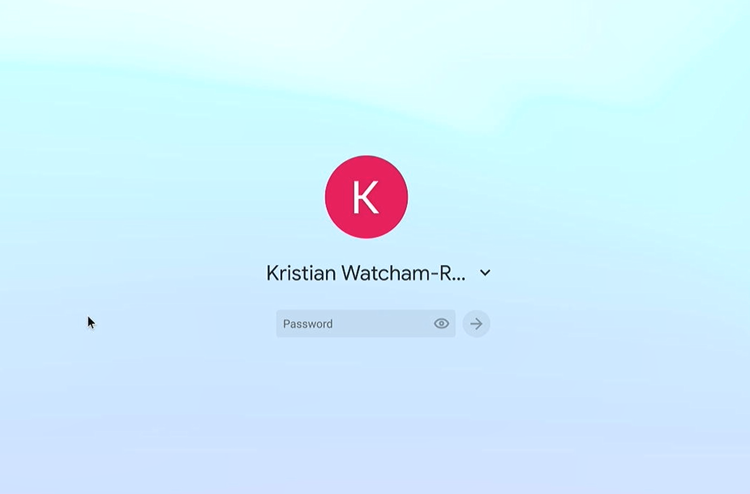
Your unit will reboot into Chrome OS Flex and prompt you to sign in with your Google account. Any user with a Google account will have access to the system.

-
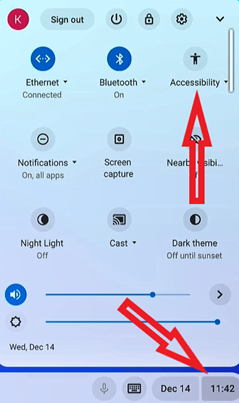
You can now turn on the on screen keyboard from the accessibility menu.


-
Change the size of objects to better fit the screen. Settings, Device and Display, Size.

-
You will need to change one last setting under Settings > Device > Power > set the When Idle to Keep display on. This will prevent your screen from going black when idle.

-
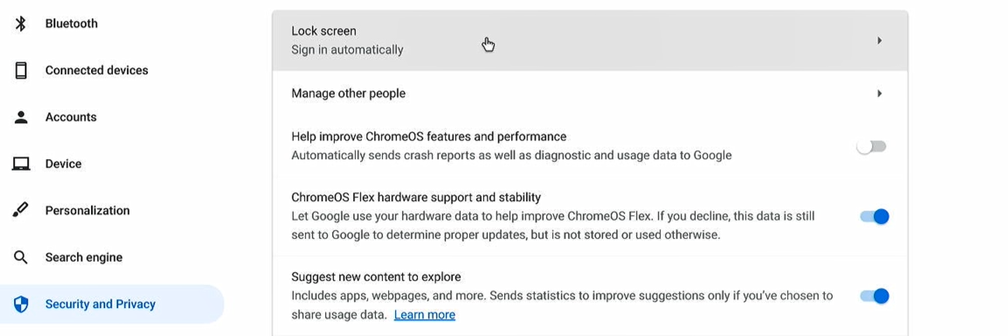
If you do not require a sign in for the current account when powering on the OPS Chrome OS, please do the following: Settings > Security and Privacy > Lock Screen > Set this to Sign-In Automatically.

![logo-white.png]](https://knowledge.benq.com/hs-fs/hubfs/logo-white.png?width=50&height=50&name=logo-white.png)